Smart AI Object Identifier 🤖
Using a Raspberry Pi and a Picamera, this identifier can categorize objects using computer vision. Ex: When an orange is on the screen, it will say 'orange'.
Created by
![]() Shreemahor Sivakumar
Shreemahor Sivakumar
No Grant
113 views
0 followers
Timeline
![]() CAN ⚡🚀
approved Smart AI Object Identifier 🤖 ago
CAN ⚡🚀
approved Smart AI Object Identifier 🤖 ago
Tickets awarded: 67 tickets
![]() Shreemahor Sivakumar
submitted Smart AI Object Identifier 🤖 for review ago
Shreemahor Sivakumar
submitted Smart AI Object Identifier 🤖 for review ago
![]() Shreemahor Sivakumar
added to the journal ago
Shreemahor Sivakumar
added to the journal ago
Finished final descriptions, .md .csv

.md
I made many md files that presented an overview of the project and mistakes.
README.md starts with some installation and a summary of the project.
Assembly.md is all about assembly.
Failed.md is a summary of the errors in the old model.
.csv
This took some research to understand what part numbers are and what a .csv file really is. I spent some time looking at my materials deeper.
Final touches on model
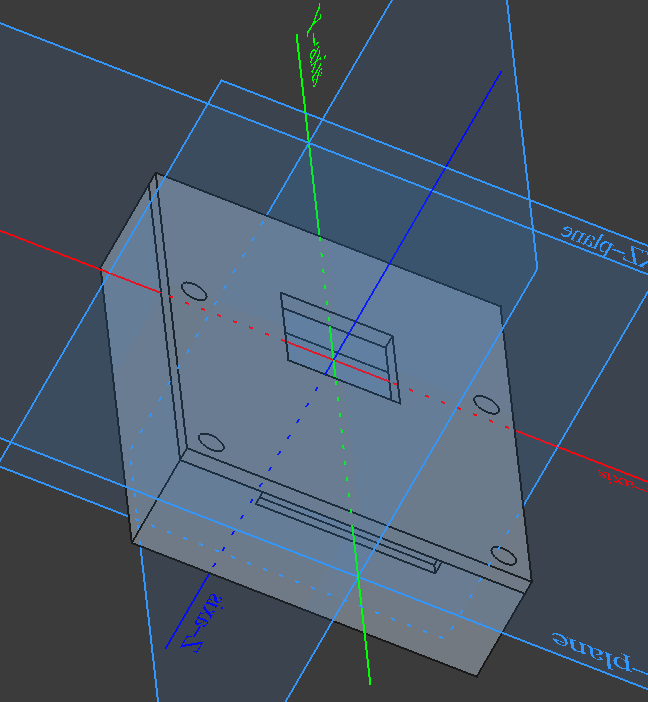
I reflected on the old model from journal entry 1 and 2. I ensure the new model had no conflicting sides and was fully constrained. I also finally inspected it from all sides and took pictures.
![]() Shreemahor Sivakumar
added to the journal ago
Shreemahor Sivakumar
added to the journal ago
Finalized Design & Fastening

Finalized Design
Issue
There were screw bosses that I put on and didn't know much about. Now I know that it is supposed to help screws but I put it on wrong. I also put the radius of the holes wrong because I didn't know what I was going to do. I spent a long time trying different things to fix it but nothing worked
Research
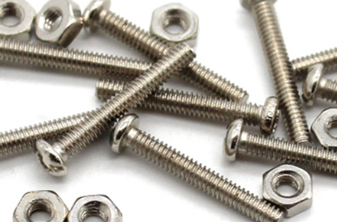
I measured my camera more and compared options. I measured things like the radius of the lense, border, and center more carefully. I evaluated which fastening method to use I considered connectors, coppers, and self-tapping screws, but I decided on M210 Philips Screw* and M2 Nuts on the ends to secure.

Fix
I needed to change the size of holes (except the ribbon cable channel). I removed the bosses and realized that this is enough.
![]() Shreemahor Sivakumar
added to the journal ago
Shreemahor Sivakumar
added to the journal ago
Finished Camera's Case CAD

Progress
Learning
I needed to learn lots of new parts of FreeCAD like:
- Chamfers
- fillets
- thick solids
Many function created hassles by giving errors. I needed to go back and read how to use them and correct these errors.
Parts of Camera
Front
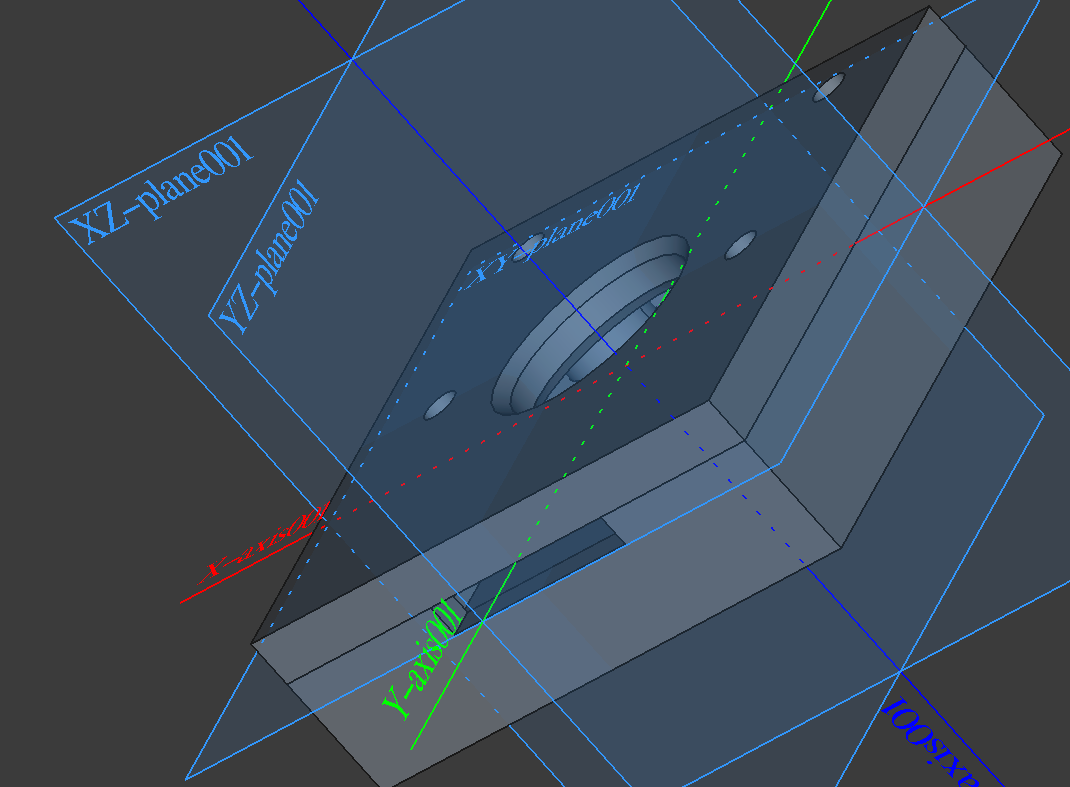
Has chamfered hole for camera lens and holes for screws and bosses (but these are not finalized). Front facing part of camera, measured to accuracy.
Main body
Has a coin-like slot for the camera cable. Very box-like because its a thick solid.
Future
Securing Mechanism must be fixed. Its unclear if the screws, bolts, and bosses will work with the model.
![]() Shreemahor Sivakumar
added to the journal ago
Shreemahor Sivakumar
added to the journal ago
Firstly, started making CAD

Making a CAD for the Camera first
Research
I know I need a Raspberry Pi, Picamera, and some software. My biggest problem is that my Picamera is in a cardboard box and needs to be upgraded, so I plan to 3d print a new case for it.
CAD
Right now it is in a loose cardboard case and that must be fixed. I am going to be using FreeCAD for making CAD designs.
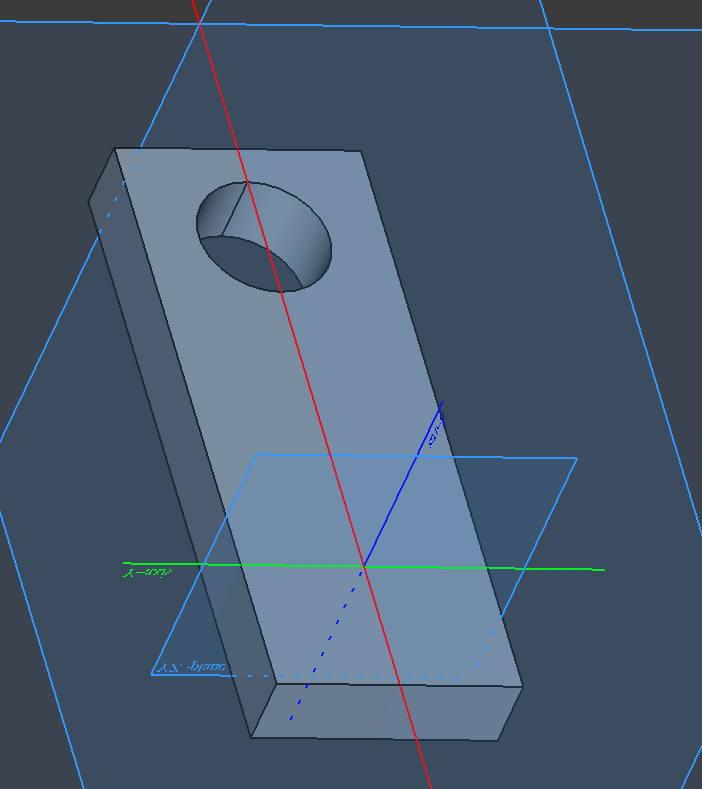
I have just started making a hole for the front side of the camera, but it seems that its structure is far more complex than what I first thought. I am going to upskill in FreeCAD and finish the CAD for the camera.
![]() Shreemahor Sivakumar
started Smart AI Object Identifier 🤖 ago
Shreemahor Sivakumar
started Smart AI Object Identifier 🤖 ago