GPT On Wheels 🧠🛞
Now AI has full control over a ground bot. It can do the same as an object detection bot, line detection bot, and more without more code for every feature.
Created by
![]() Shreemahor Sivakumar
Shreemahor Sivakumar
66 views
2 followers
Timeline
![]() Shreemahor Sivakumar
added to the journal ago
Shreemahor Sivakumar
added to the journal ago
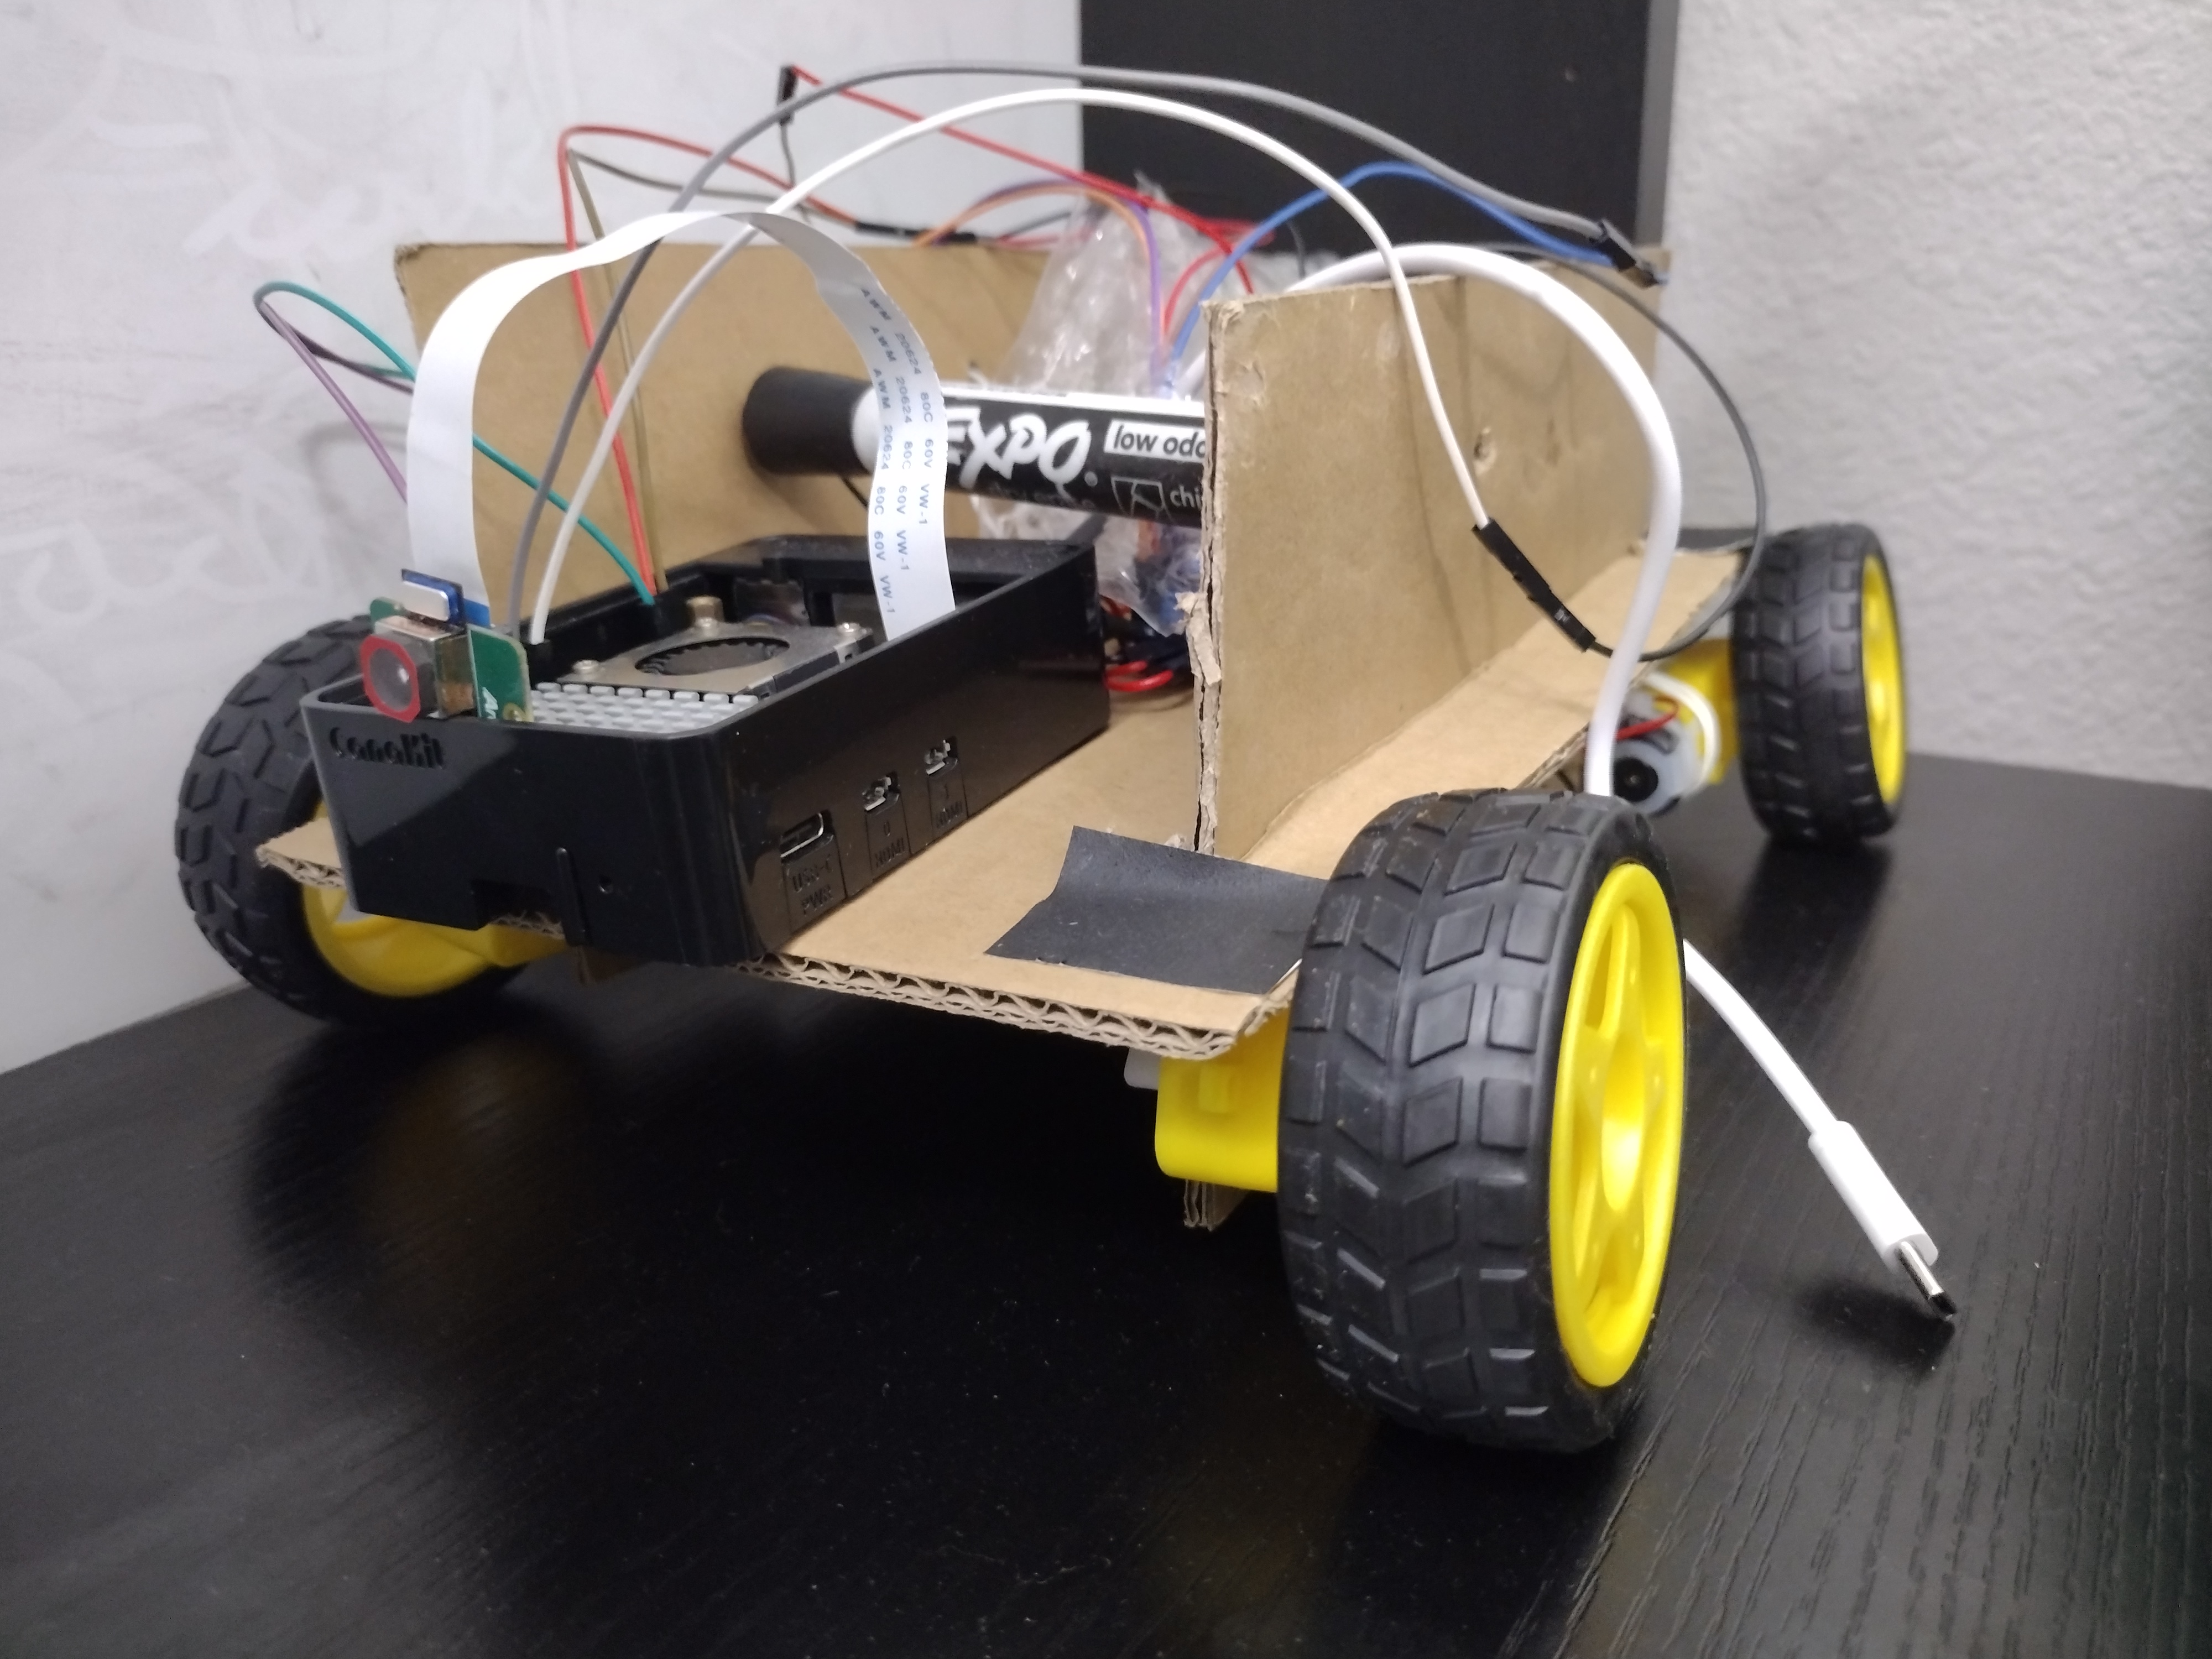
Working Car Prototype
.jpg)
Jump from planning
I needed all the planning, sample CAD, and research to get this far.
I also ended up using extra parts I did not plan for like tape and plastic bands.
Components
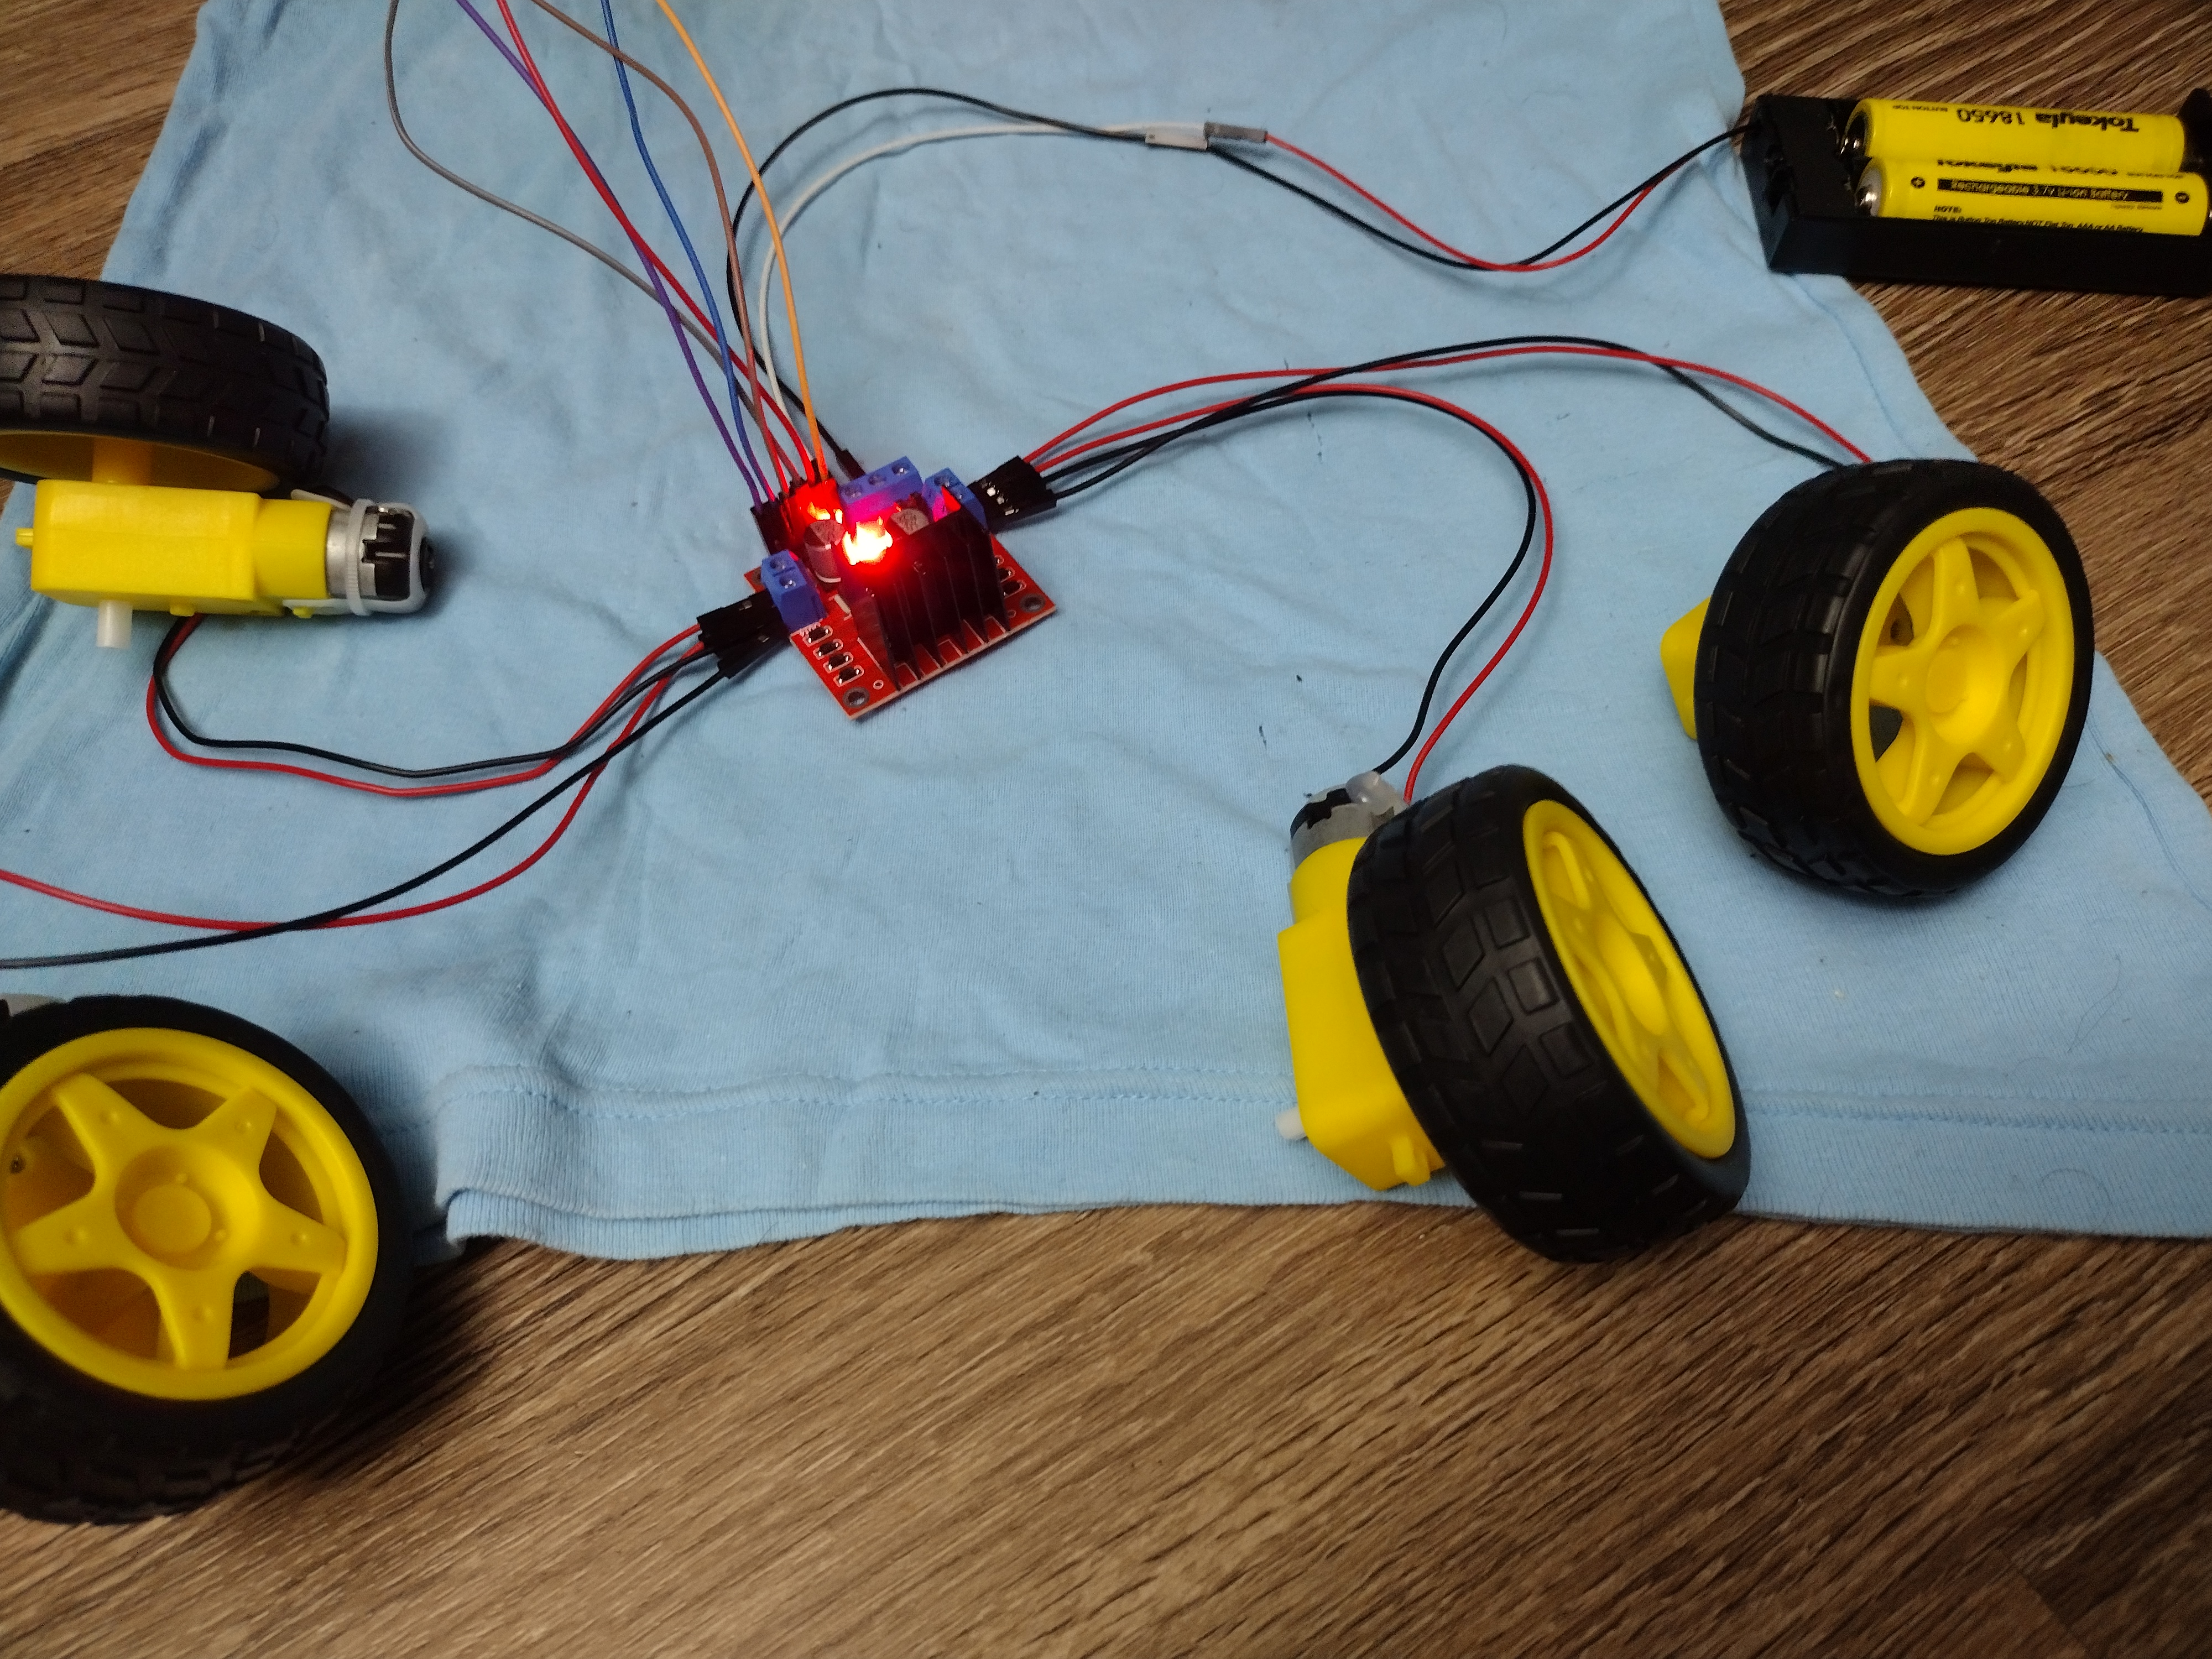
L298N Motor Driver
This was used to connect the motors to the pi. It has 4 outputs (it can control two motor pairs) and also has speed control
Powering Issue
For testing I used the pi's 5V but that would not suffice in when the pi is independent of the cable, so I needed to use an external power source. I already knew this so had a 18650 battery.
But the biggest problem was that 5V was not enough for 4 motors so I added two batteries but all 4 did not get enough power still. I spent a lot of time trying to fix a simple problem and even tried to get it to run on only 2 motors because getting all 4 was very hard. I tried:
- Using a breadboard
- using thinner wires
- Swapping the motors
- and more
Finally I realized that I had connected the wire of the batteries to the '5V' but that limits their voltage to only 5V so I needed to change it to 12V even though the batteries did not reach that much.
Pi
I used GPIO 19 and 18 for PWM control and adjusting motor speed. I used other GPIOs for forward and backward control
Power Bank
5V 10A Miadi Power Bank for powering the Pi. I got a warning saying that the pi did not get enough power so I needed to hit the power button anytime I wanted it to draw full power. I also went into config.txt in firmware and updated it with this exact line:
usbmaxcurrent_enable=1
18650 Batteries
From Tokeygawa and have a case which had a on off switch which was useful when I forgot to connect PWM and had no jumper, resulting in the motors spinning forever. But, luckily I was able to just switch the batteries off before any serious damage.
Motors & Tires
The tires had friction well and for the most part (except one that was slightly off) fit onto the motors and spun properly.
Connection Issue
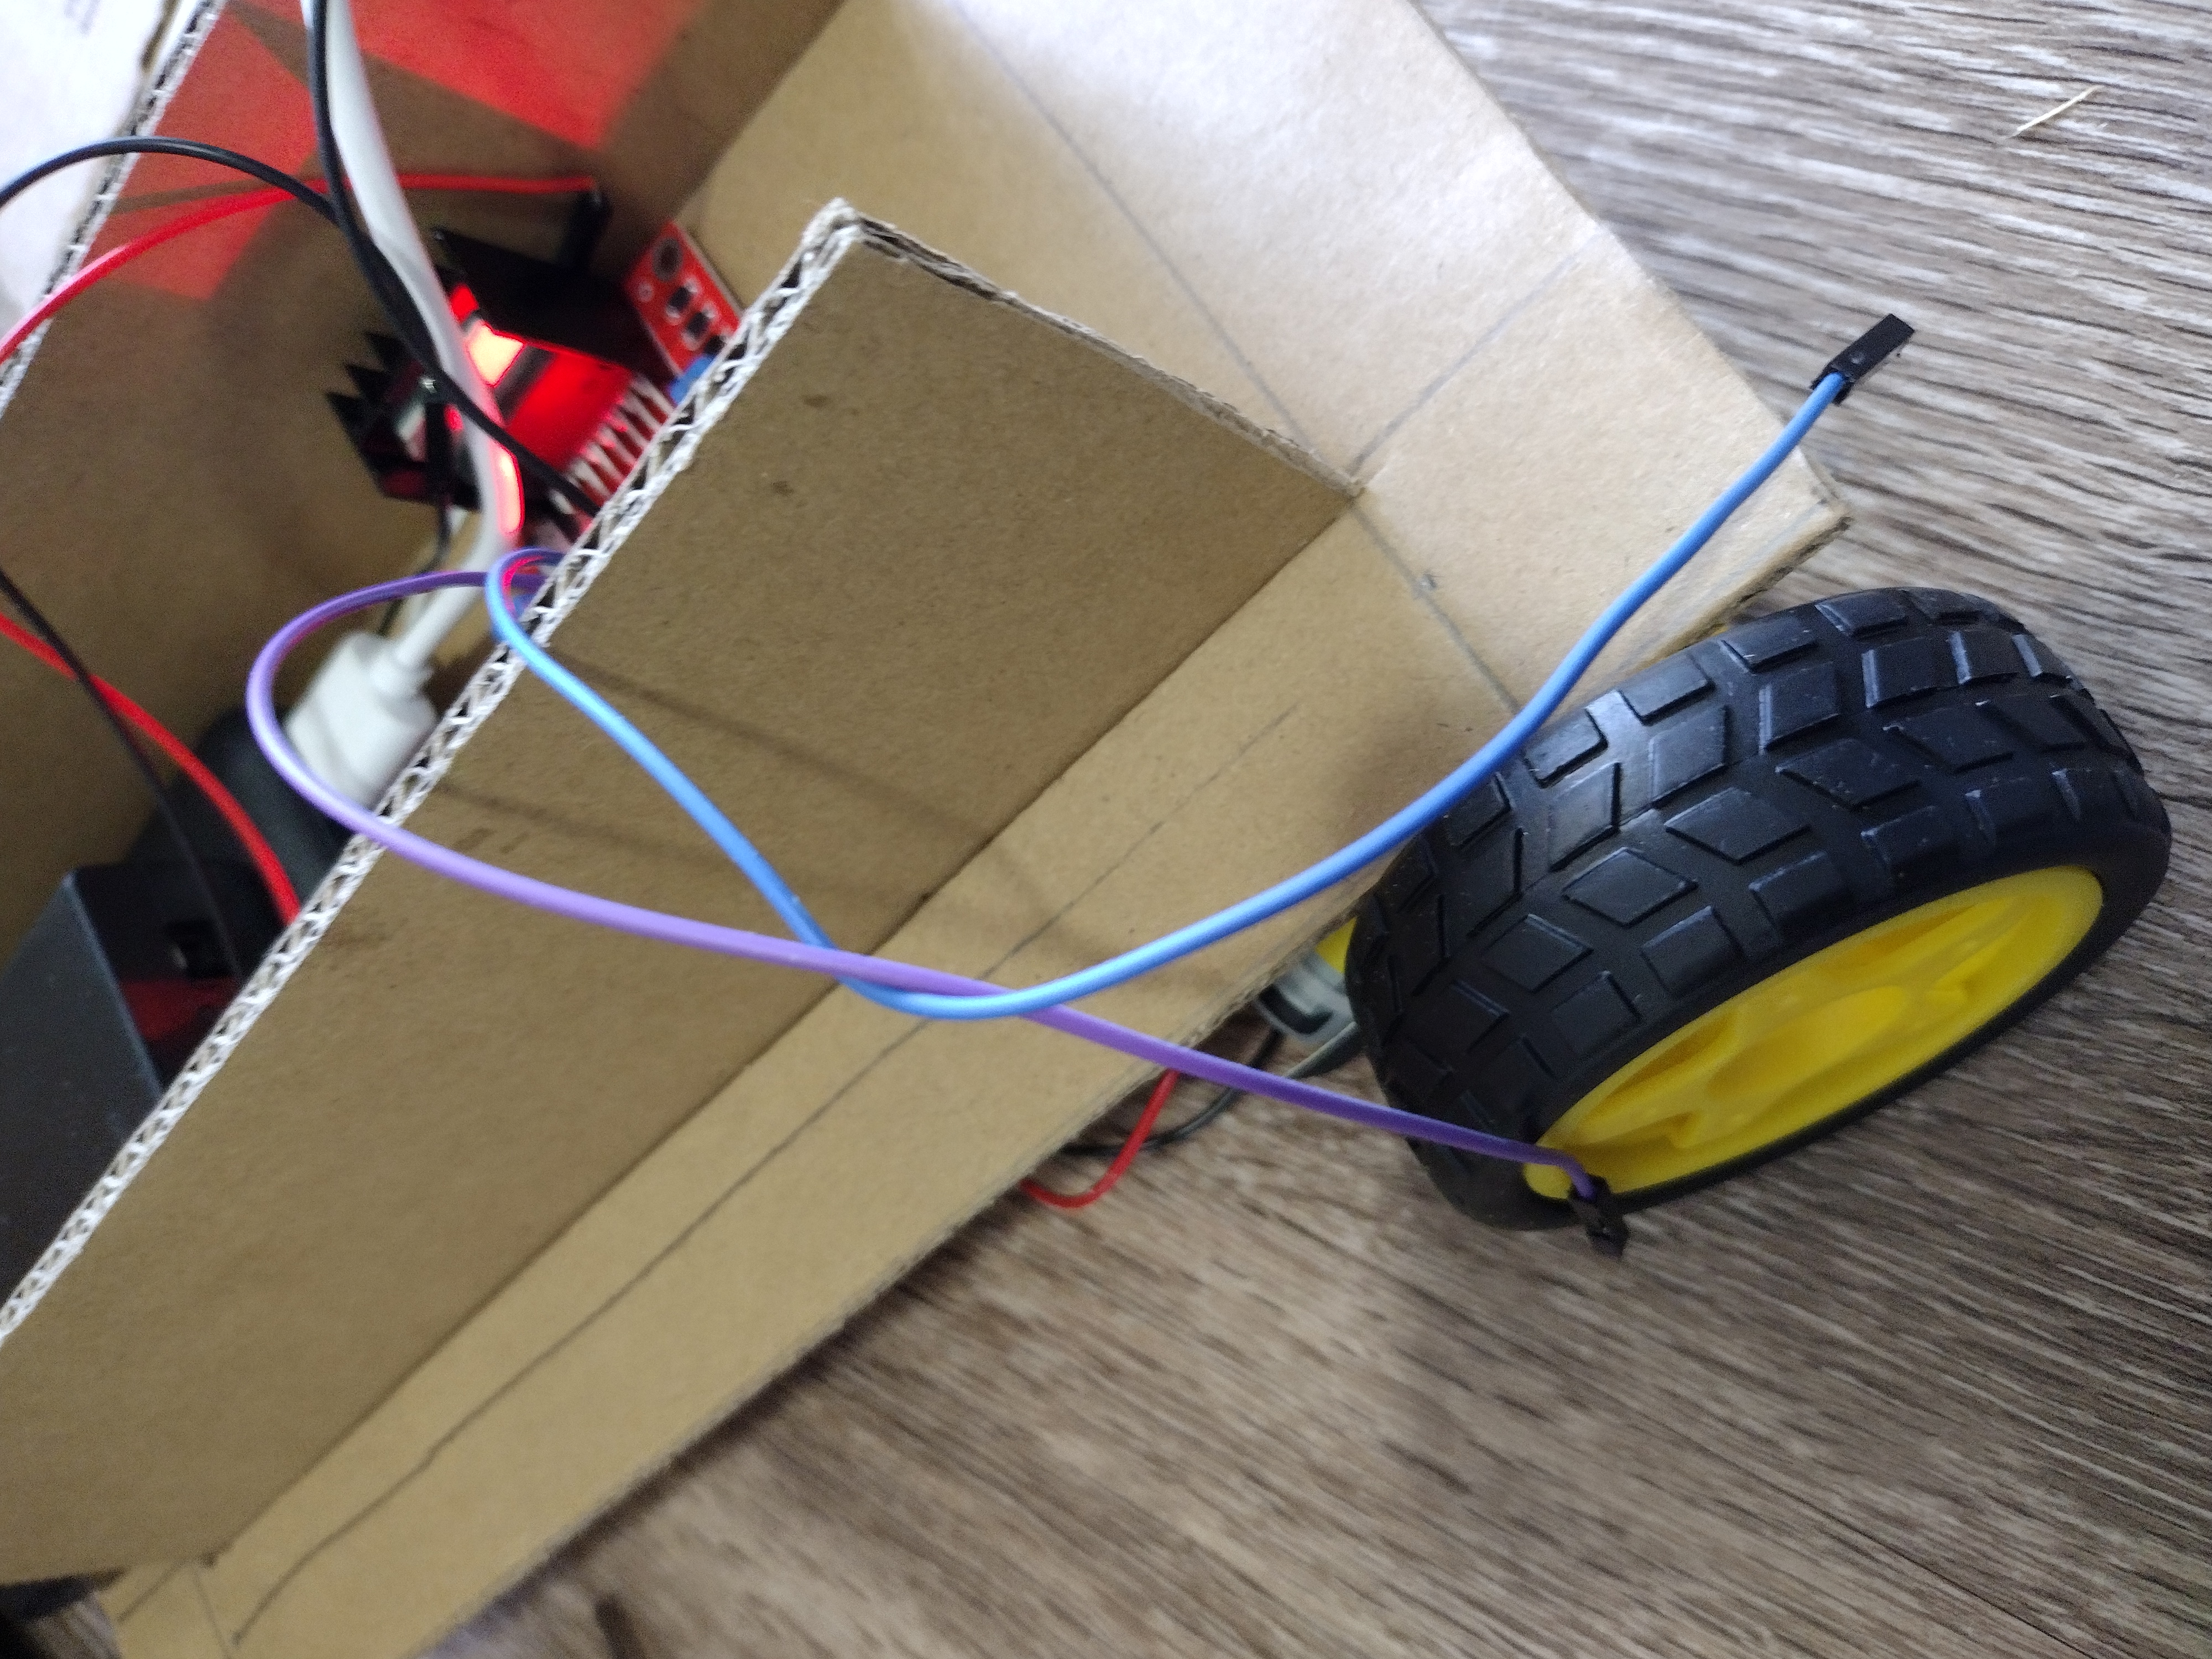
The other issue that drained lots of time was that the wheels would not connect to my cardboard base.
I experimented with the following:
- Normal Scotch Tape - this was very fragile and did not last at all
- Screws
- I used M2 Screws and Connectors but then this combo was too long and the cardboard and motor slots did not have the required length, so I tried glueing on cardboard and even inserting cardboard to to finish the fit
- This worked but it was not as tight as I wanted it to be and was still a little wobbly so I searched for more solutions
- Double Sided Tape
- This worked surprisingly well although after some trial and error I found that the metal part of the motor was most adhesive to the tape
- Wires
- putting a wire band through the two motor hole slots and tying it to the base
- heavier but stronger
- ran out of wire bands so I needed to use old male to male wires
- Glue - worked very poorly
I finally decide on -
Double Sided Tape + Wires this combo worked best
Body
I had two other initial bodies. One broke and the other was deteriorated from all of my connection method attempts. This is the initial old one:
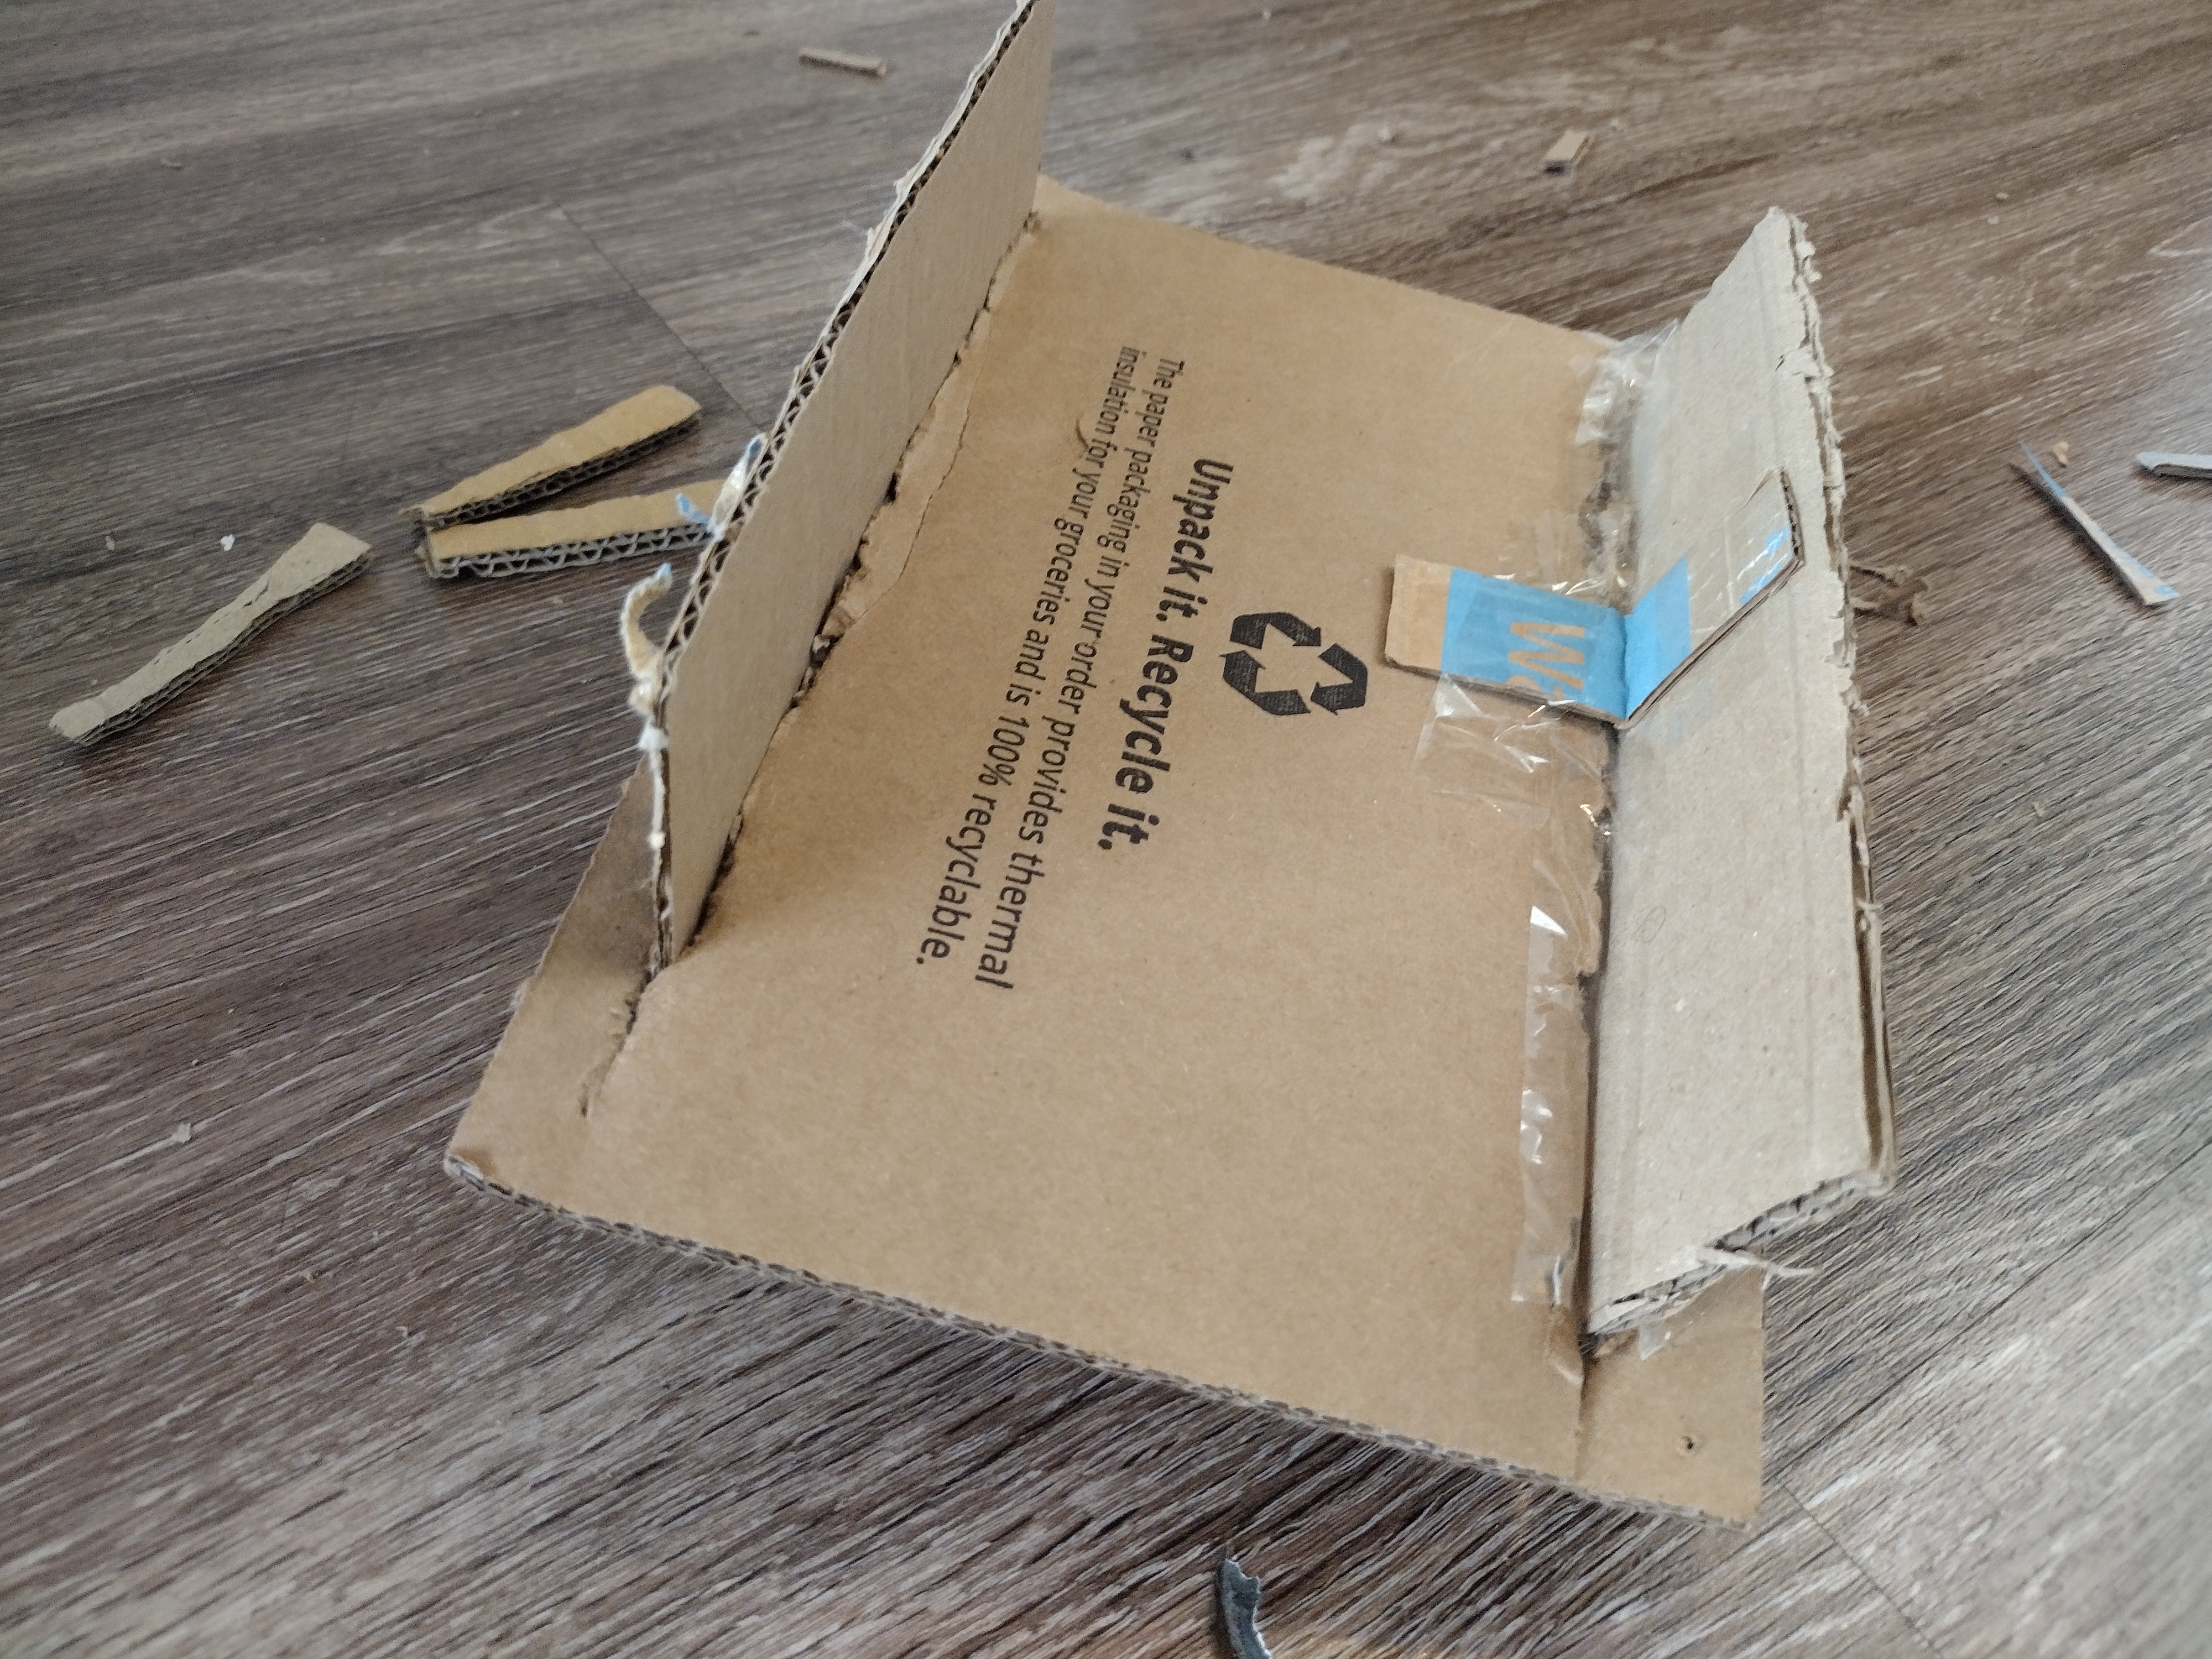
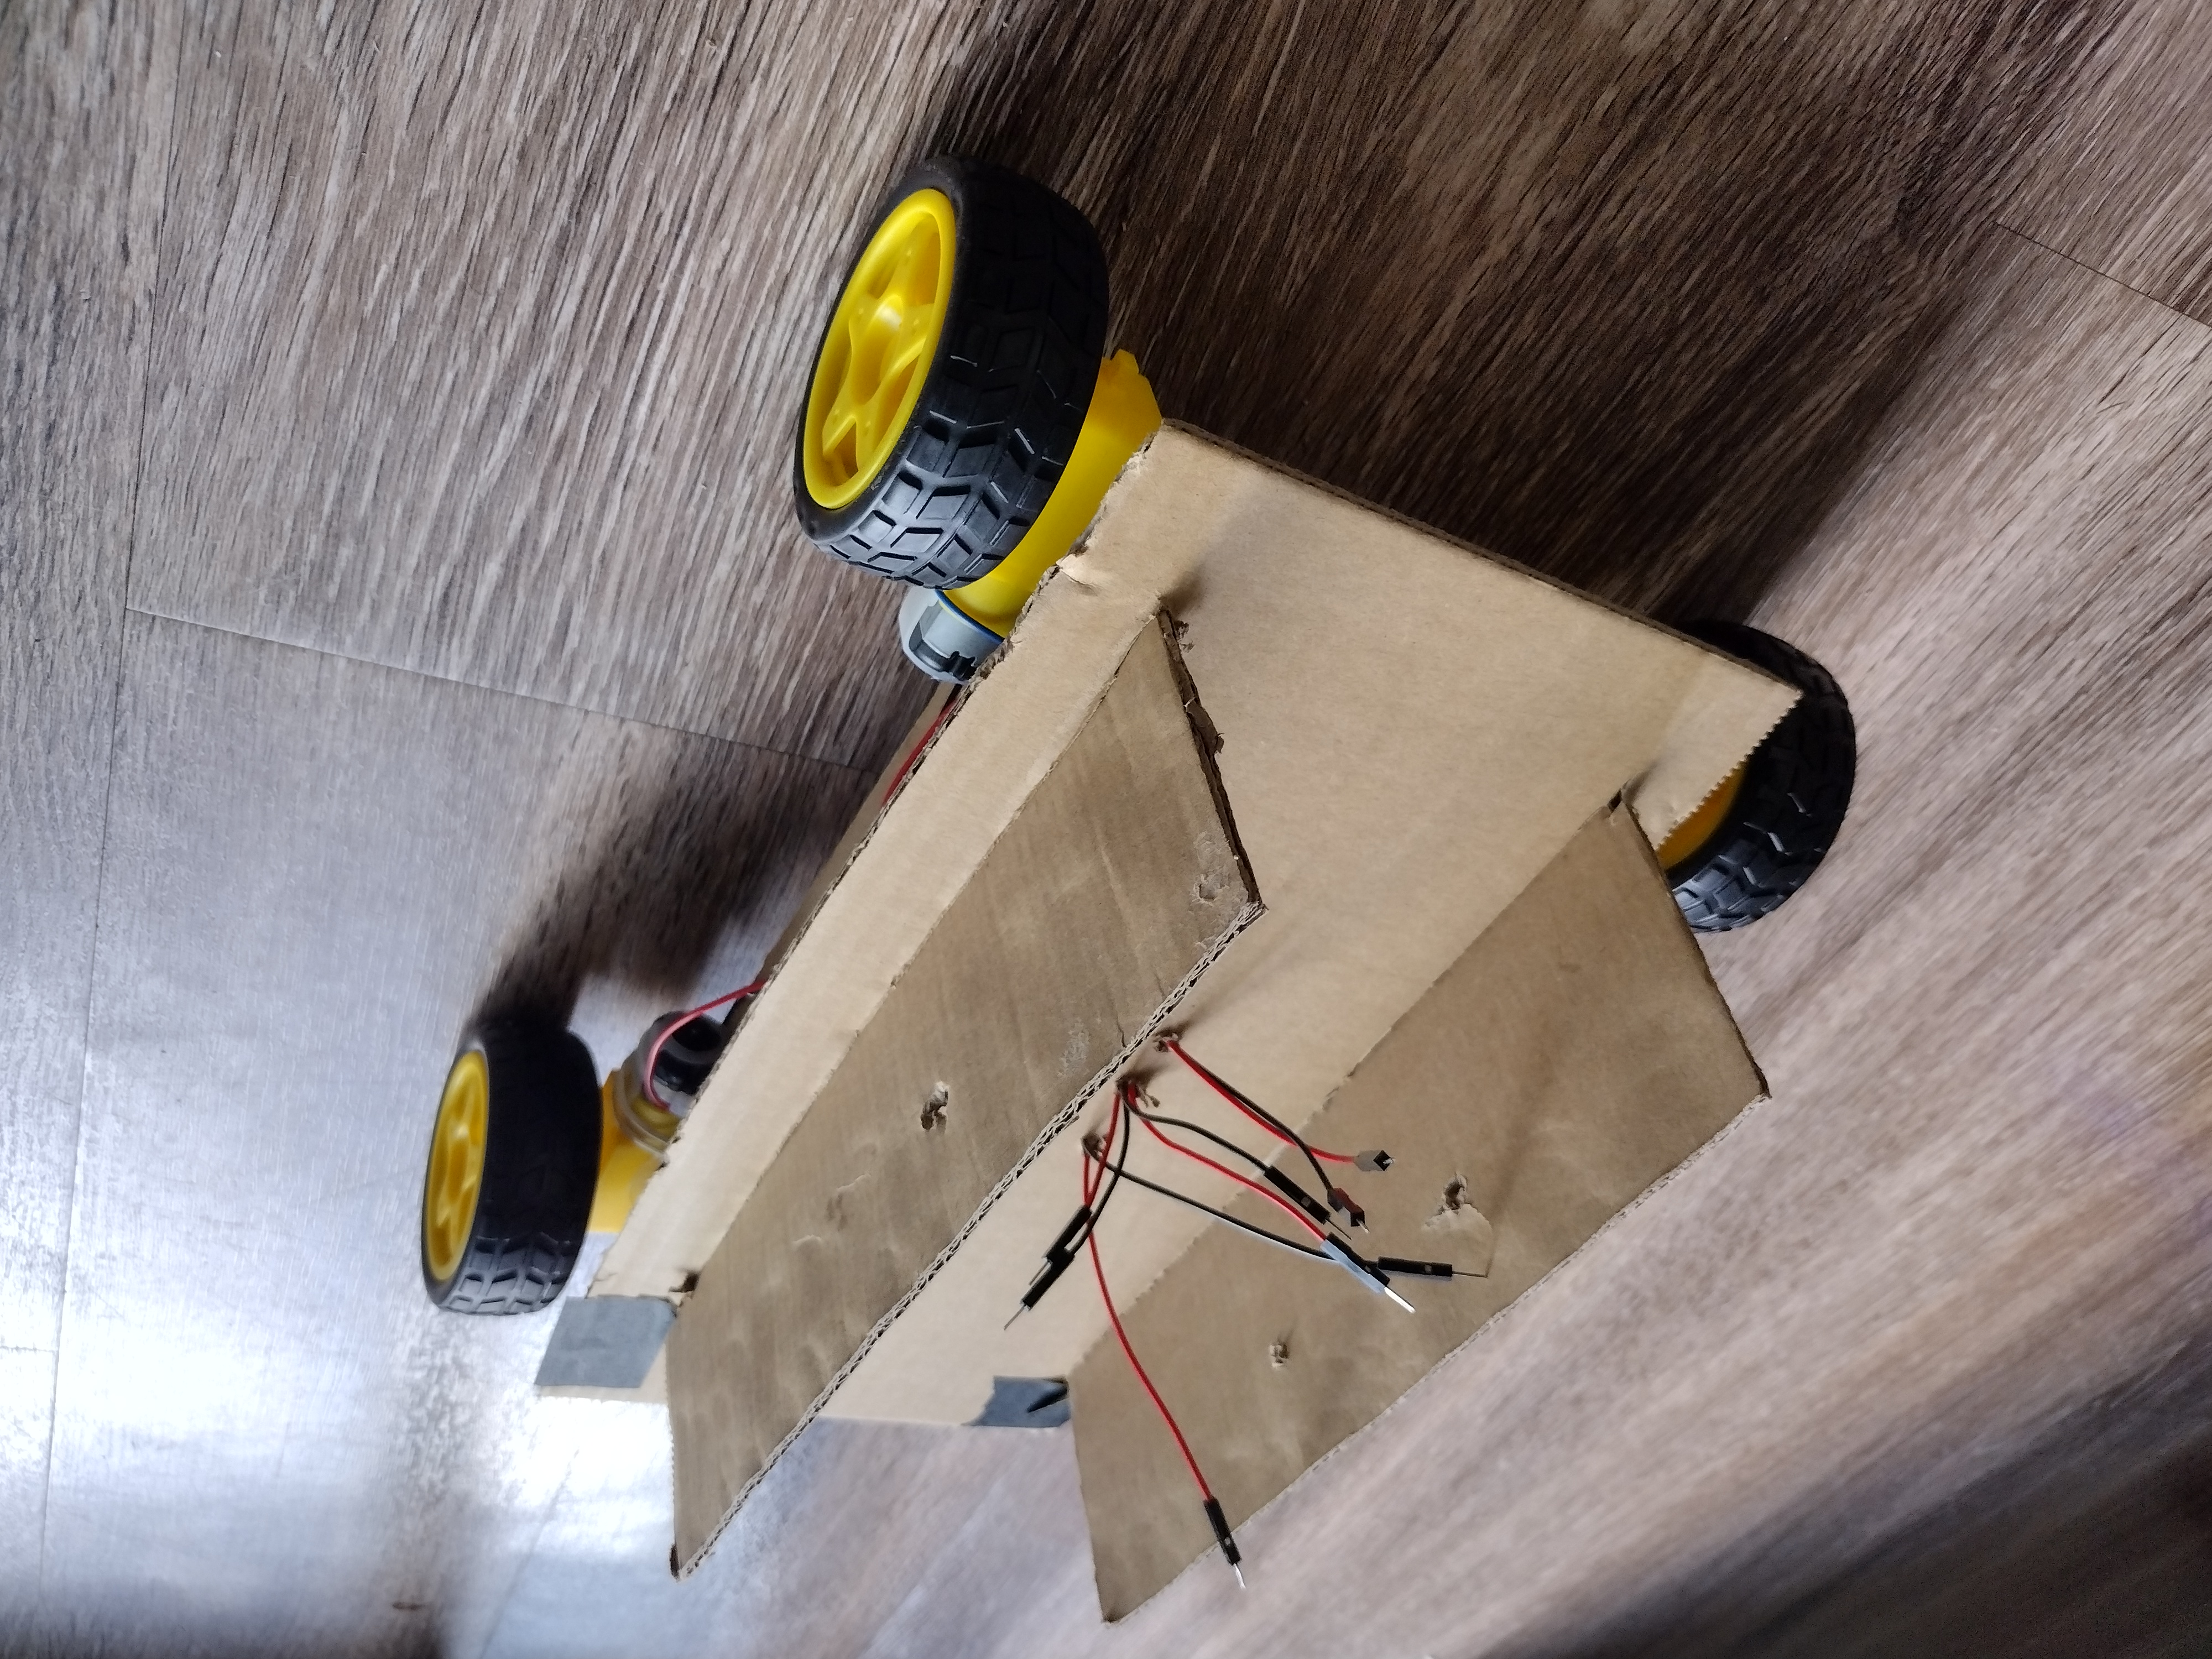
This is the final body, it has black tape so that the same error that the old body had does not also exist here. The black tape adds reinforcement. Finally I also later added a expo marker because I needed some blunt object to keep the cardboard sides from toppling.
Final
I wired the components on the body.
Future
I must connect the ai model I have to this and plan for speakers and audio. I will also work more on the CAD.
Picture midmotion:

![]() Shreemahor Sivakumar
added to the journal ago
Shreemahor Sivakumar
added to the journal ago
Got AI Model on Pi

Gemma3:4b analyzed a picture taken by Arducam
First, research update
Microphone
I looked at a good microphone that's omnidirectional.
Speaker
I still did not find a good speaker (most of the speakers are very expensive and heavy).
Cables
I already have cables or wires, male to male, male to female, and female to female.
CAD
Slowly making progress but not investing all my time into it.
AI Model
Plan
Initial Plan: to install a small model on the raspberry pi. This would be technically possible but I only had 3GBs left on the pi and so if I did I could barely use my pi anymore.
- Some Possible Solutions Explored* (I spent more time looking at more):
- just use a different free api key
- did not do this because api keys have their limits and for privacy
- find the smallest model
- if the model becomes too small like 990MB then there is no point in really using it due to its poor accuracy
- pi could still slow down
- Use network to put model on the computer to the pi
- this is what I chose
- just use a different free api key
Network
Goal
Connect the model running on Ollama an app to control local ai models on my computer (gemma3:4b) to my pi through their shared network
First Problem: Server Listening
By default, ollama only listens to localhost (my own computer), in order to change this I needed to run a bunch of terminal commands some of them were:
+ set OLLAMA_HOST to 0.0.0.0
+ ollama serve
I also did other things in Task Manager like stopping the initial server
Second Problem: Firewall
My windows would block my pi from access through port 11434. I needed to set a new firewall rule using my pi's address so the pi can access it but my computer is still safe
Models
I checked some other models like gemma3:1b and smollm but these smaller models could not process images so after LOTS of research I finalized on gemma3:4b
Final result
Camera activation:

I used rpicam (they changed libcamera to rpicam) to take a photo of a plush with my arducam. Then, I gave this to this model and asked it to "Describe this image and its theme in detail". It recognized the plush.
Future
I might use I bigger model, and I have not linked the ai to motors.
One of many commands I ran to ensure it works:
the error is good as it confirms it is working

![]() Shreemahor Sivakumar
added to the journal ago
Shreemahor Sivakumar
added to the journal ago
CAD and Spreadsheet

In FreeCAD
Model
Just started a new model (pictured above). Its very simple now because it is in its initial phase.
Spreadsheet

I made a spreadsheet to organize my values so I would not have to end up redoing everything and figure out I had the wrong measurements, like my last project. To ensure that does not happen, I will continuously update it and refer to it.
Linking Error
For a long time I additionally tried to actively link my spreadsheet to the CAD Model, but FreeCAD wasn't allowing it. This process required links & alaisses and very complicated. I spent lots of time trying to get this done, but then I decided just manually referring to it was enough for now. This is were most of my time was drained.
Research
Standoffs
I also did some research. I finalized the mounting process. I would use standoffs and screws and found a nice set on Amazon.
Speakers
I am going to look more into speakers. The model I liked was out of stock.
![]() Shreemahor Sivakumar
added to the journal ago
Shreemahor Sivakumar
added to the journal ago
Pi Issue and Researching Materials

Research
Motors
I didn't know much about motors before and had minimal experience working with them (I only worked on one motor and one pump). I looked at what types of motors there are and browsed for some time. I also explored types of motors to determine which would be best for the car. I looked and watched some videos on mechanum wheels and considered servos. While it was interesting to learn this theory I just decided on 4 motors. Looking back, even though I did spend lots of time on finding parts and the driver I could have saved 2-3 hours if I just immediately picked that, even though other parts were interesting to learn about.
Final configuration: 4 motors and l298n
General layout
I decided that the model would work like a layered cake. I am considering which screws and other peripherals are necessary to make this happen though. It also took me a long time to arrive at this layered setup. I looked at flat boxes, towers, and even hexapods, but the layers were easiest and most efficient
Raspberry Pi Issue
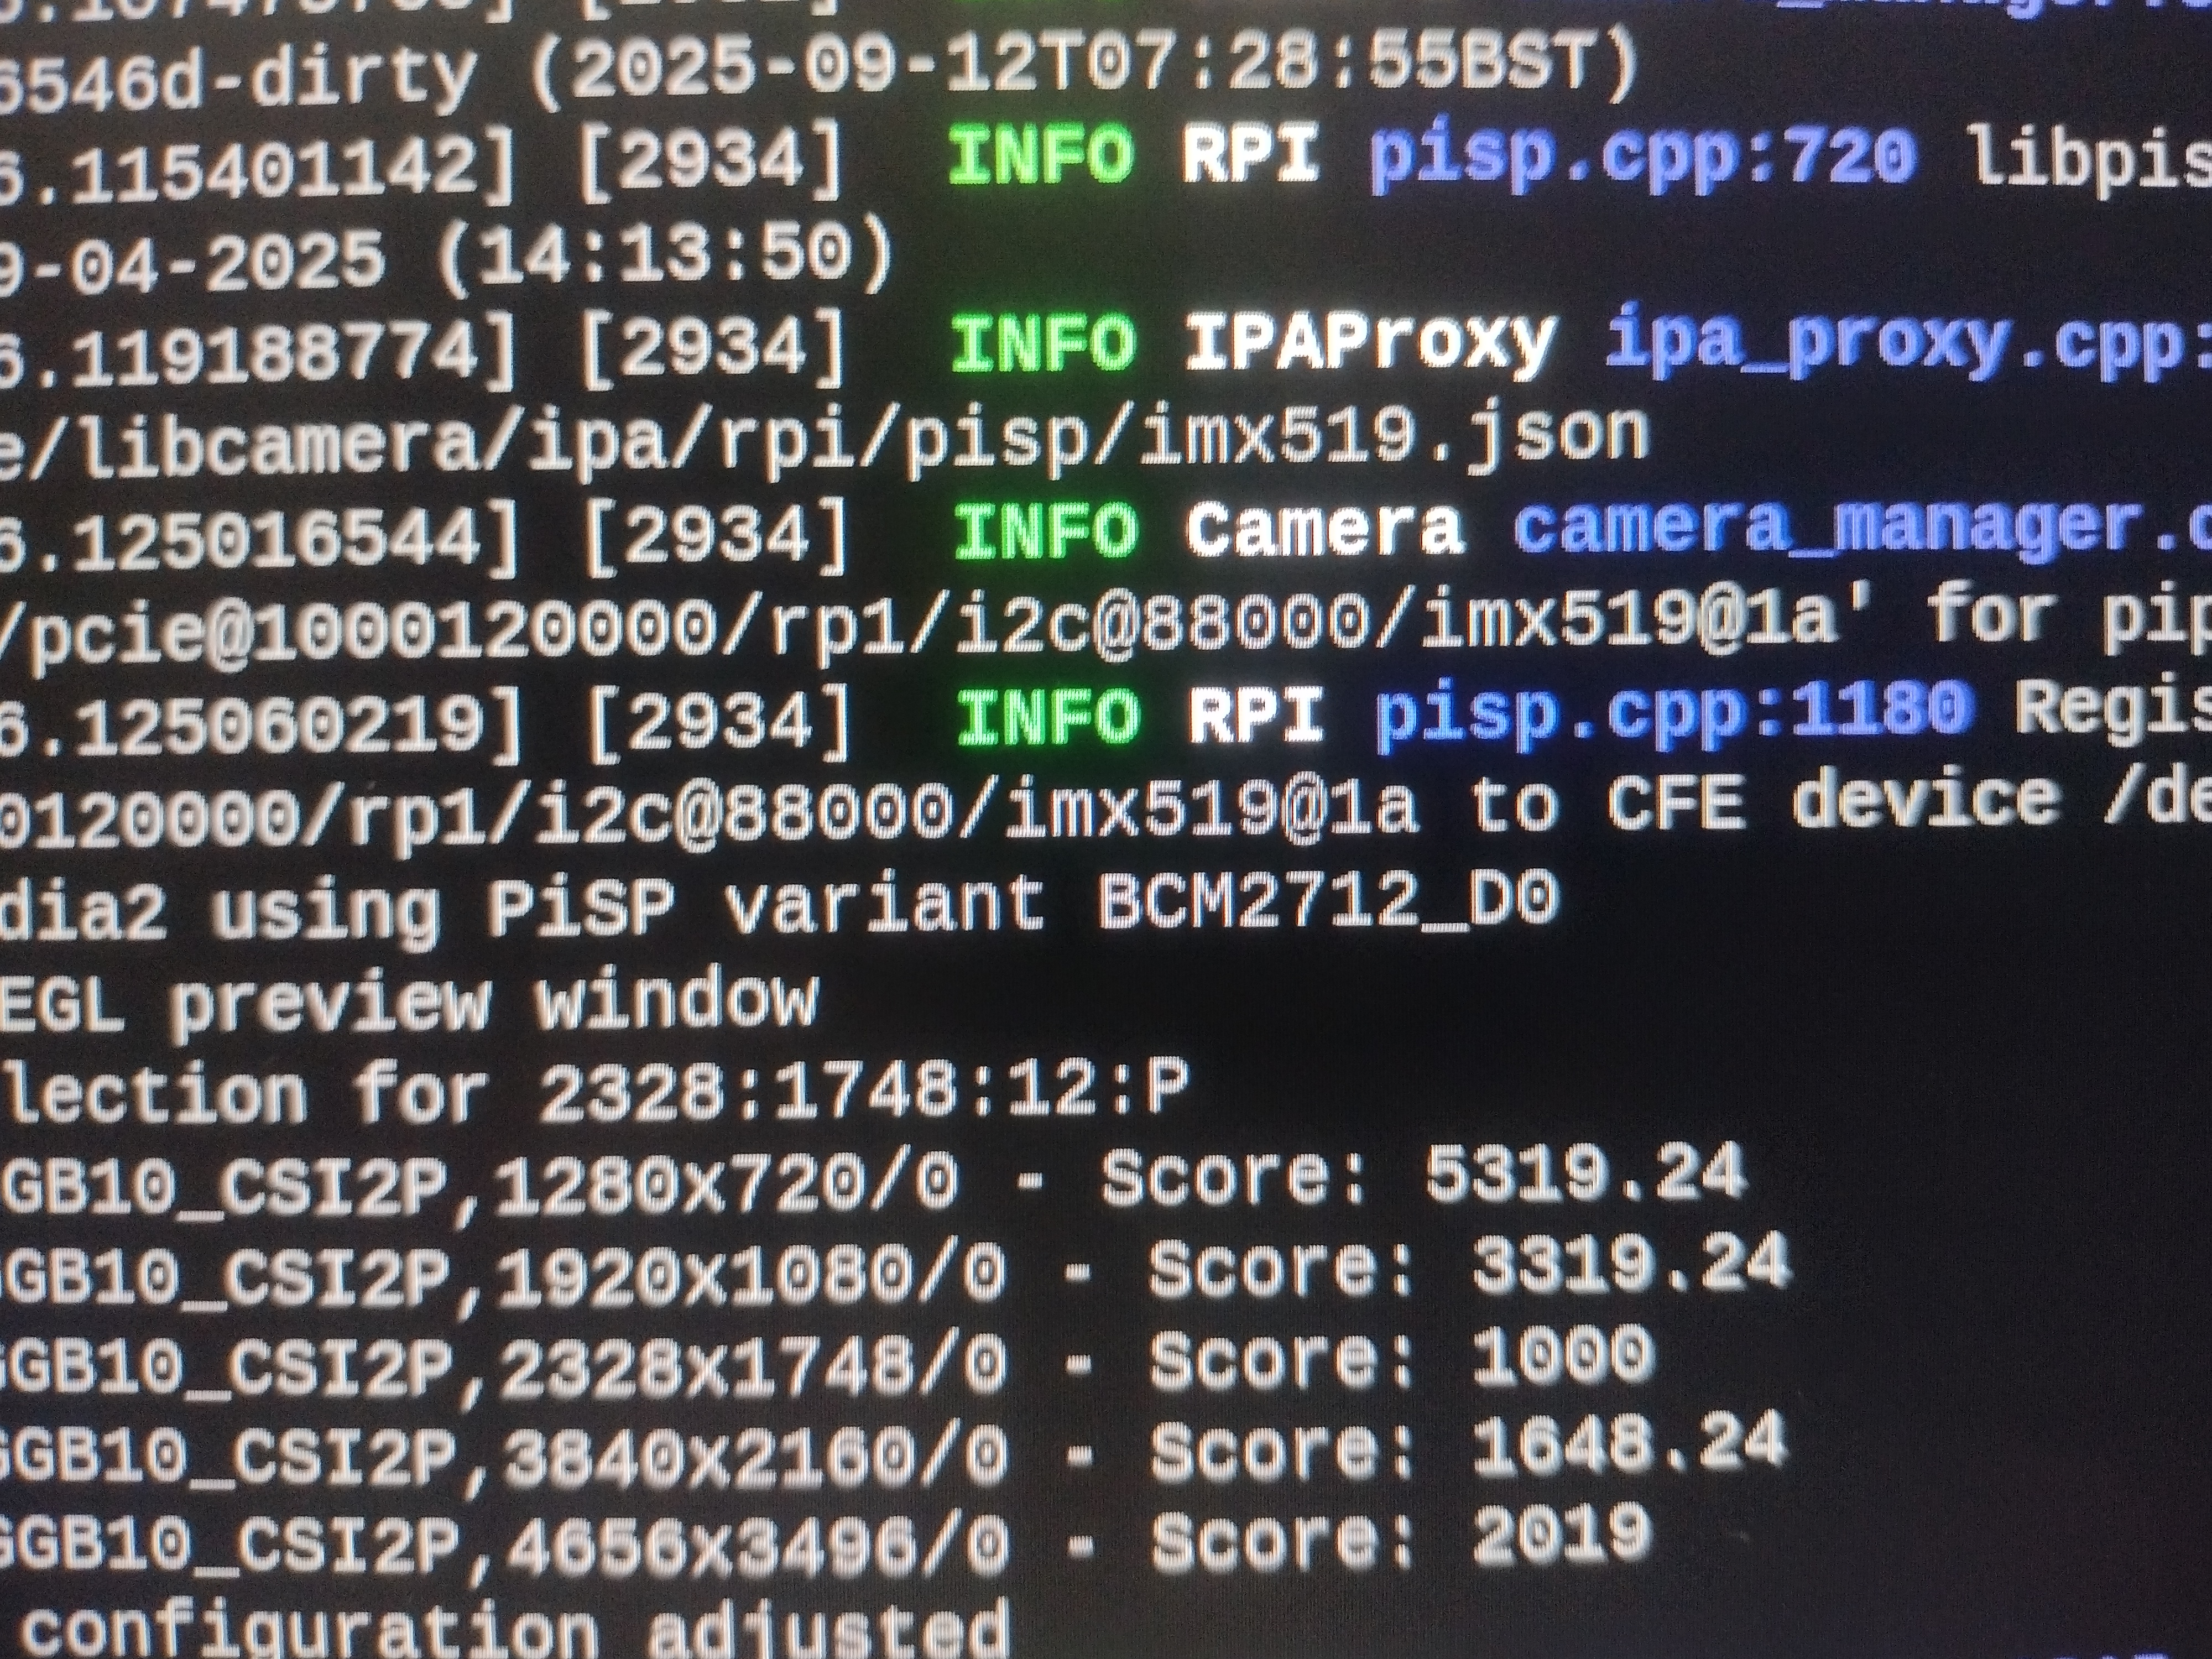
I spent a VERY LONG TIME trying to connect my ribbon cable to my pi. This is the cable between a camera and the pi, but it was very hard to connect. I previously accidently bended and damaged it so that didn't help, and the python packages weren't installed properly. I finally solved this by using a flashlight and little screwdriver for adjustment and finally situating the cable. I had to do the camera installation process 3 times.
![]() Shreemahor Sivakumar
started GPT On Wheels 🧠🛞 ago
Shreemahor Sivakumar
started GPT On Wheels 🧠🛞 ago